Beds
For some gardens, it makes sense to have only a single bed. For example, a garden that consists of a single 4x8 raised bed can be represented just fine by a Garden with a single Bed.
For other gardens, it might make more sense to define multiple beds. For example, if your garden has discrete locations in which plants are grown, multiple beds can make it easier to map your physical garden to your GGC garden definition. Another reason to define multiple beds is to enable you to rotate crops through different beds and thus avoid depleting the soil in certain ways.
Create a bed
All Gardens are required to have at least one Bed, which you specify when you first create the garden.
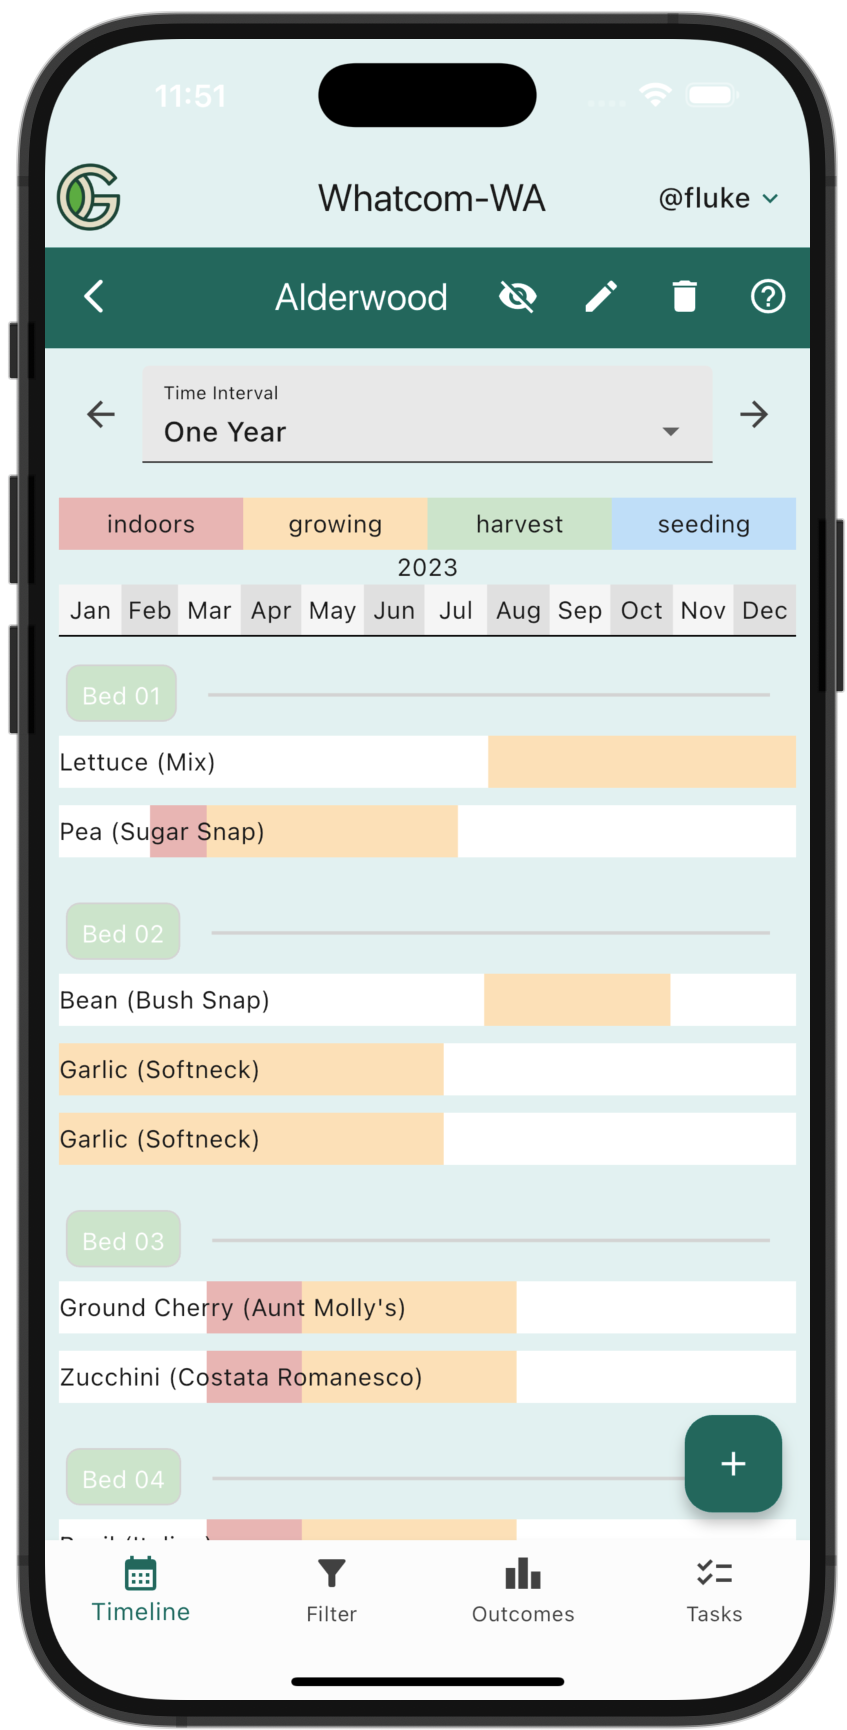
If you want to define additional Beds, go to the Garden view of your Home screen, then tap on the Details button for the garden, which takes you to the Timeline view of the Garden Details screen. For example, here is the Timeline view in the Garden Details screen for an example garden:
Now tap the "+" button, which gives you the option to define a new Planting or Bed:
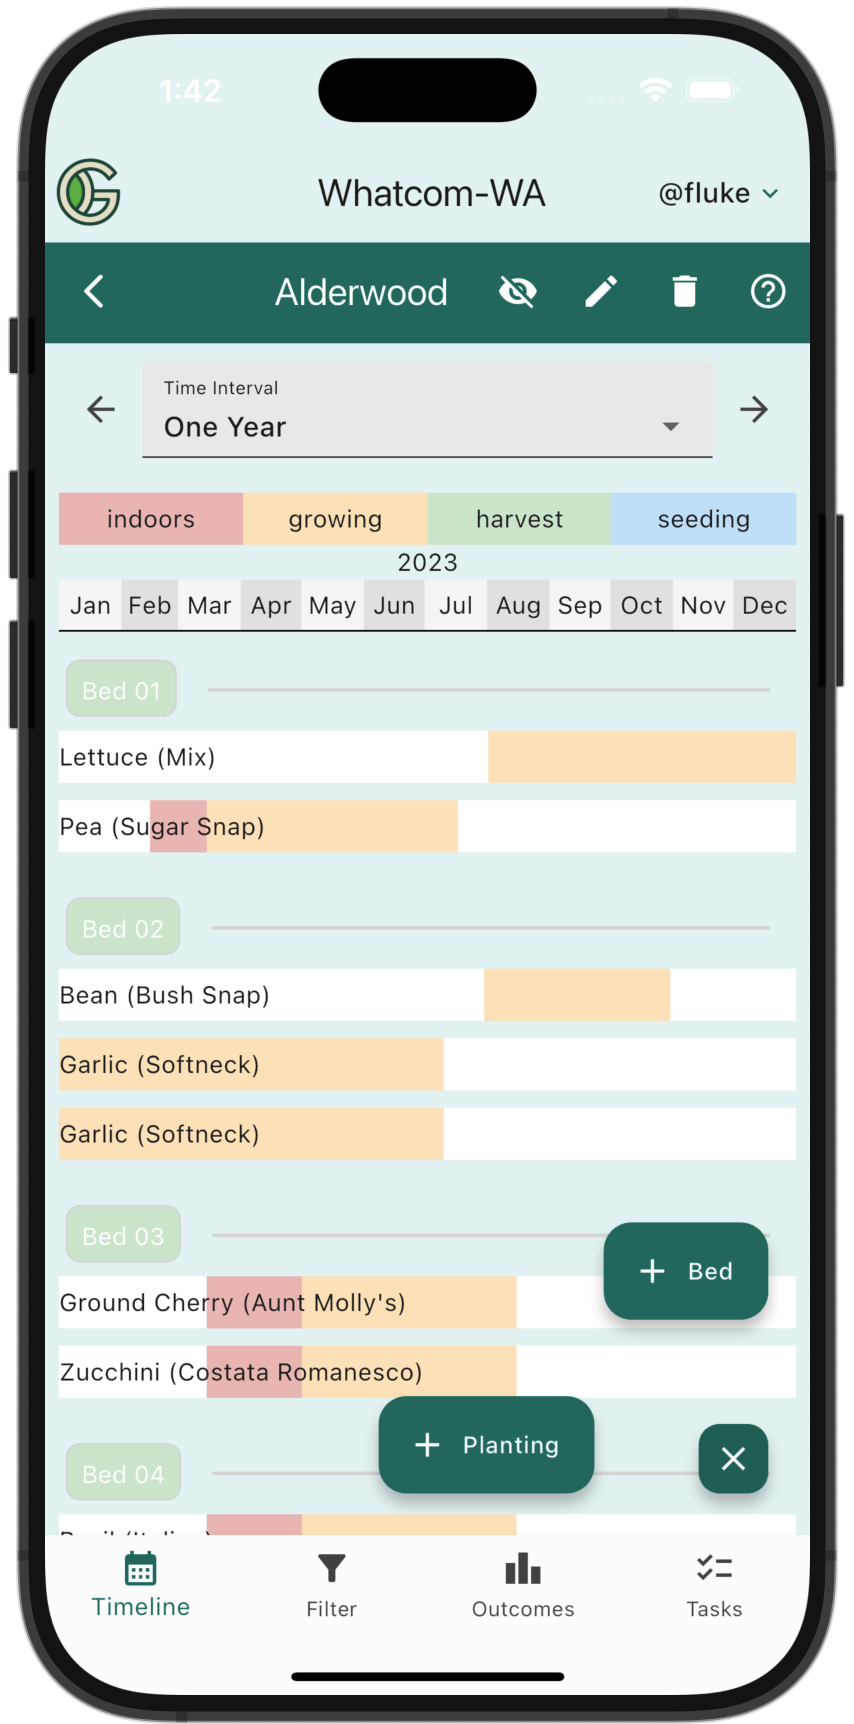
Tap the "+ Bed" button to bring up the Create Bed Screen:

Bed name: Provide the bed name. You don't have to include "Bed"--we'll add that for you! Bed names must be unique within a Garden.
Tap "Submit" to create the new Bed, or "Cancel" to cancel.
Update or delete a bed
Sometimes you make a mistake: you either named the bed incorrectly, or you don't want it in your garden at all. To fix either of these problems, go to the Timeline view of the Garden Details screen, which displays the existing Beds as chips. In the following examples, there are beds chips named "Bed 01", "Bed 02", "Bed 03", and "Bed 04":
Note that, by default, the timeline view only displays Beds that have a Planting in the current time interval. To see all Beds including those that don't have a Planting in the current time interval, tap the visibility icon (the "eye") in the navbar.
Tap on a bed chip to go to the Update Bed screen for that Bed:

To update the name of the Bed, just type in the new name and press "Submit".
To delete the Bed, tap on the Trash icon in the nav bar. Note that Beds can only be deleted if they do not contain any Plantings, so you must be sure to delete all the associated Plantings first.